Happy Sunday Melonoat readers!
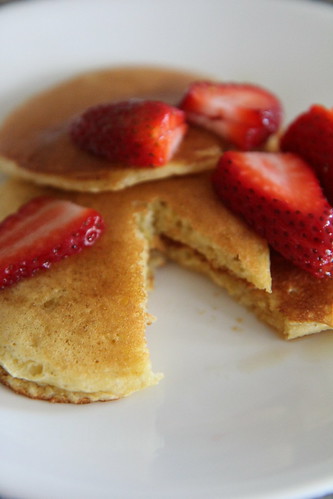
Ever since discovering the mister has a gluten allergy, I have been searching and testing gluten-free recipes from around the web to see if any really stand up to the challenge. This is one that clearly rises above the rest for fluffy cornmeal pancakes. I found this recipe on King Arthur Flour’s website and we have made this at least a dozen times now. As a challenge one time, I made a batch of regular buttermilk pancakes and a batch of these gluten-free ones for some visiting friends. Guess which batch everyone unanimously picked? The gluten-free ones!
A few substitutions can even be made- The buttermilk can be substituted with milk, the lemon zest can be substituted for orange or lime for a different flavor, and xanthan gum can be replaced with guar gum.
Time: 20-30 minutes
Quantity: ~20 small pancakes
Ingredients:
Dry
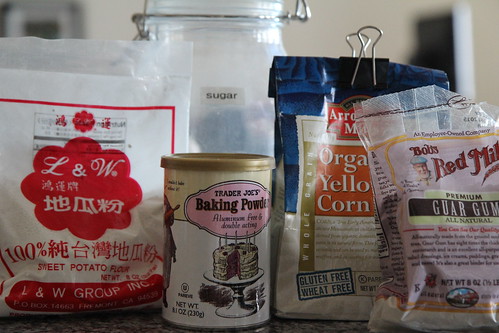
- 1/2 cup potato starch
- 3/4 cup cornmeal (whole-grain preferred)
- 3 tablespoons sugar
- 1 1/2 teaspoons baking powder
- 1/2 teaspoon salt
- 3/8 teaspoon xanthan gum
Wet
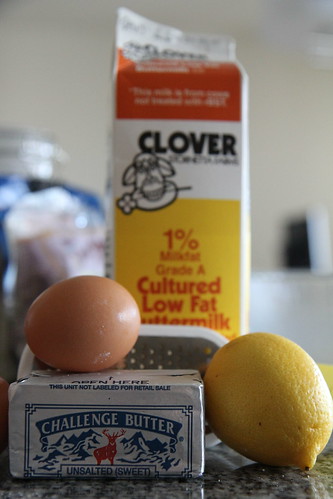
- 2 large eggs
- 3 tablespoons melted butter (unsalted) or vegetable oil
- 3/4 to 1 cup milk
- 2 tablespoons grated lemon rind or ½ teaspoon lemon oil
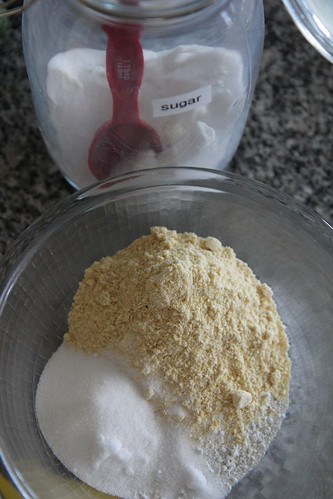
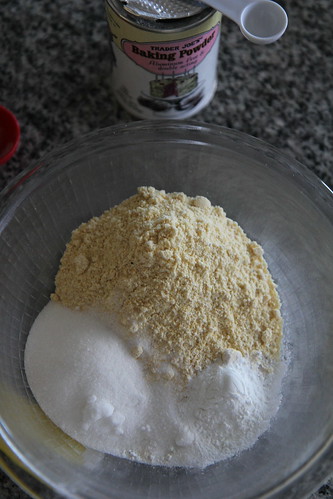
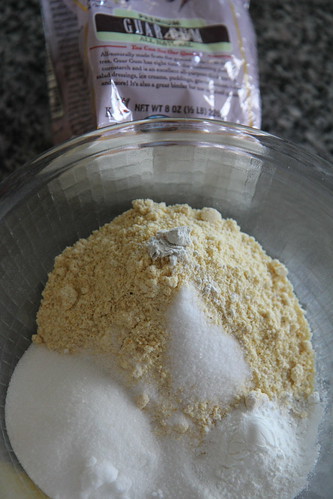
Pour in a large mixing bowl, the potato starch, cornmeal, sugar, baking power, salt, guar gum.
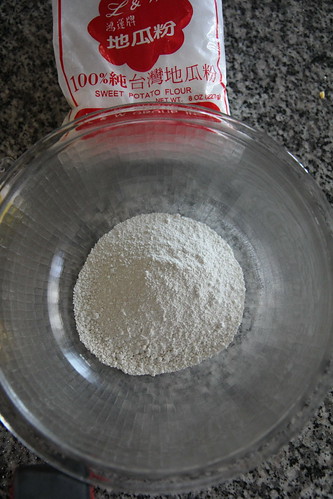
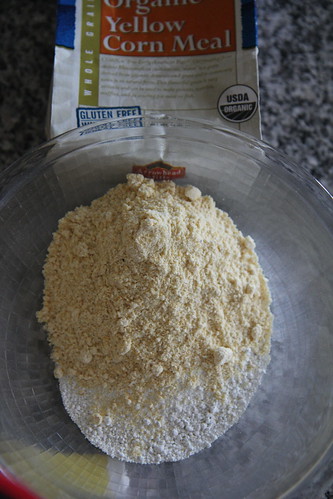

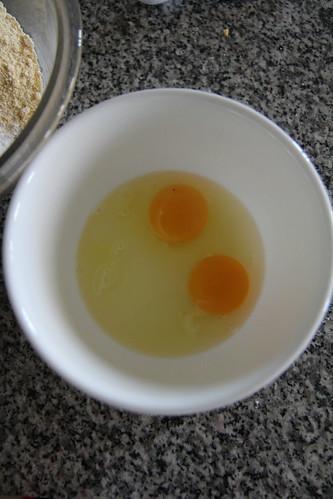
Now prepare the wet ingredients. Add the eggs to another small mixing bowl. Melt the butter in the microwave (I usually melt at power 2 for ~45 seconds) and add with eggs. Add milk or buttermilk, lemon zest, and mix.
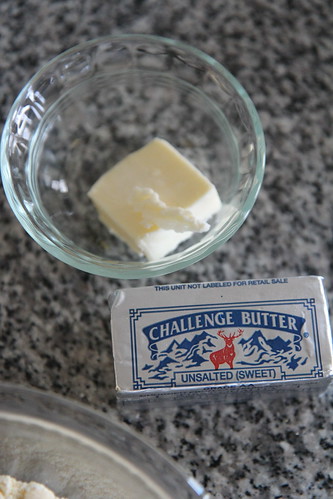
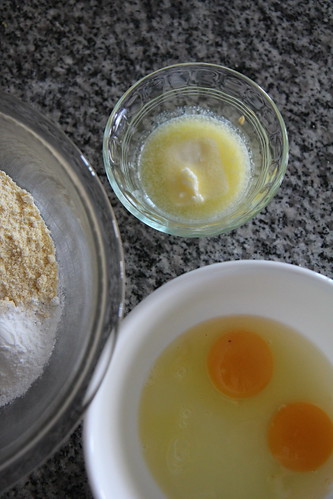
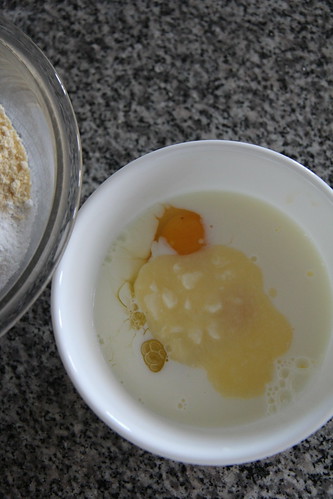
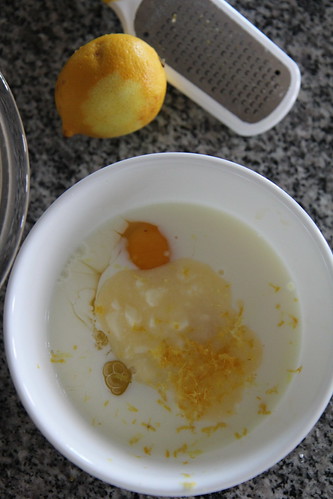
Pour wet ingredients into the dry bowl and mix together. Do not over mix- lumps are ok. Let this mix sit for a few minutes while you warm up the pan or griddle to med to low heat. You will see additional bubbles forming from the baking soda.. this is good and will make your pancakes fluffy!
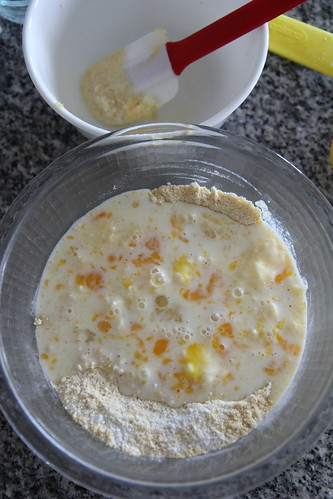
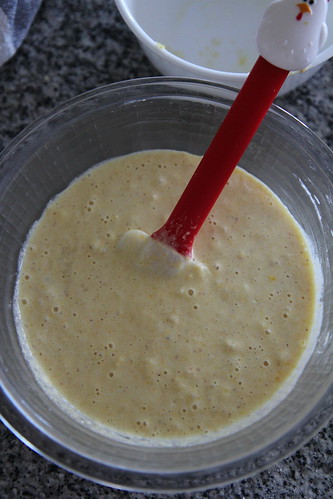
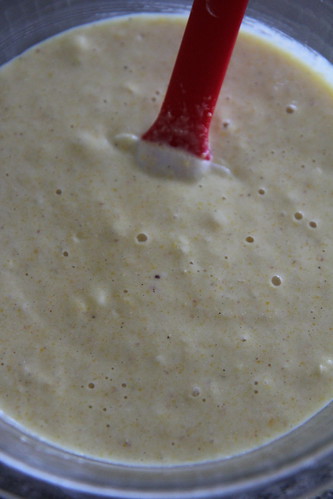
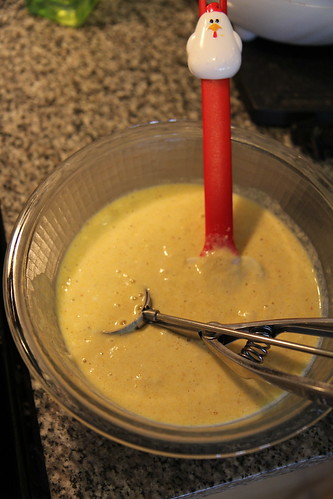
Once your pan is warm it’s time to make the pancakes. I like to use a small cookie batter scooper to measure out the batter into the pan. If not, estimate ~2-3 tablespoons of batter for each pancake. When you see the sides start to dry, bubbles begin to form, and the bottom start to brown, it should be ready to flip (~1-2 min per side). Do the same with the other side and cool on a wire rack until all are completed.
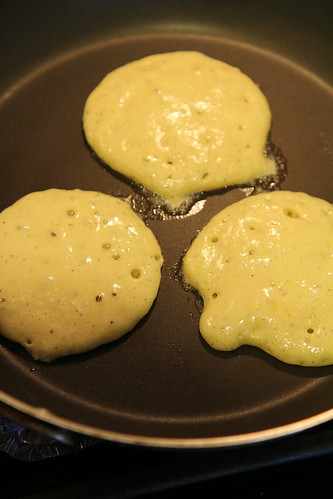
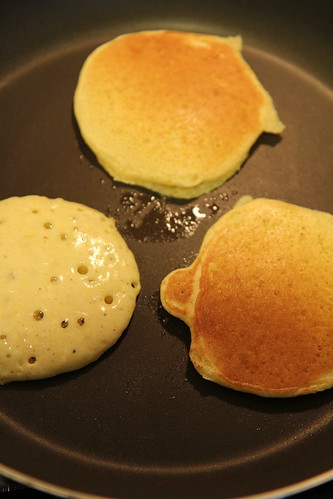
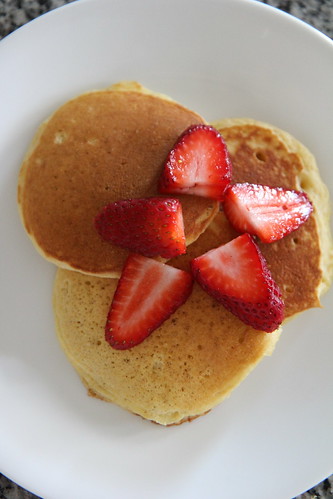
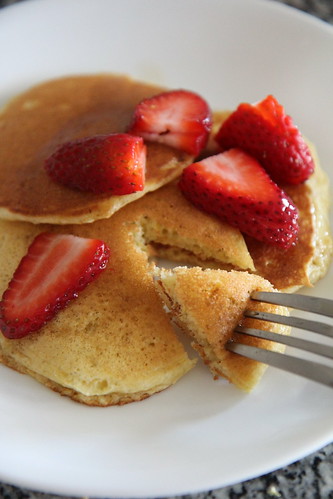
Enjoy as is, with syrup, or top with your favorite fruit!

Leave a Reply
You must be logged in to post a comment.